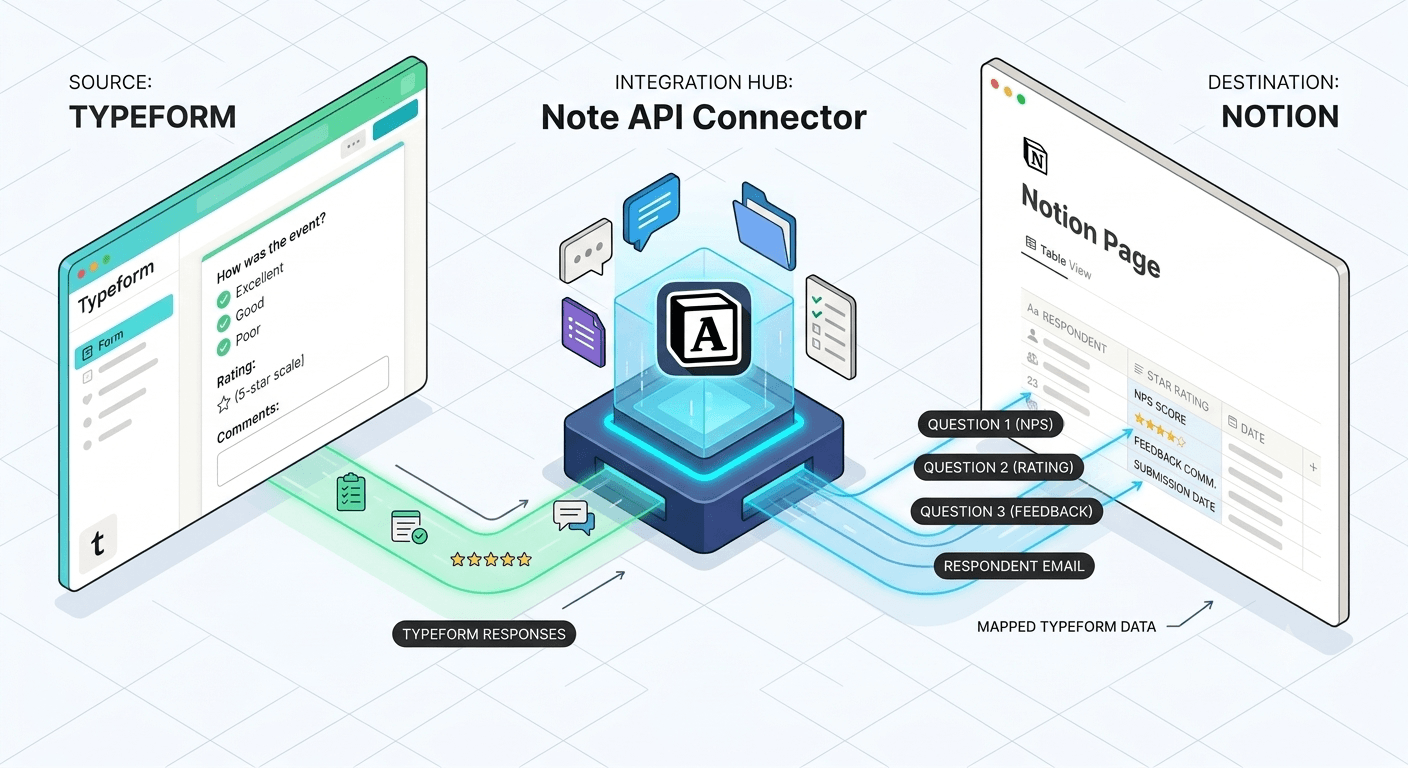
Jotform Notion Integration
Sync Jotform with Notion automatically - form submissions, responses, and data always up to date, no coding needed.
Free to start. No credit card required.
Trusted worldwide
500+ teams stopped copying data manually.
Yours can too.















The Jotform Notion integration lets you pull live data directly from your Jotform account into Notion using Note API Connector. Whether you are collecting leads with a contact form, running surveys, processing order requests, or gathering event registrations, this integration keeps every submission synced into a structured Notion database automatically - no manual exports, no copy-paste.
With Note API Connector you can sync Jotform with Notion on a fully automated schedule (hourly, daily, or at custom intervals) without writing a single line of code. Connect your Jotform account using an API key, choose a Notion database, map the submission fields visually to Notion properties, and your form data flows in on autopilot from that point forward.
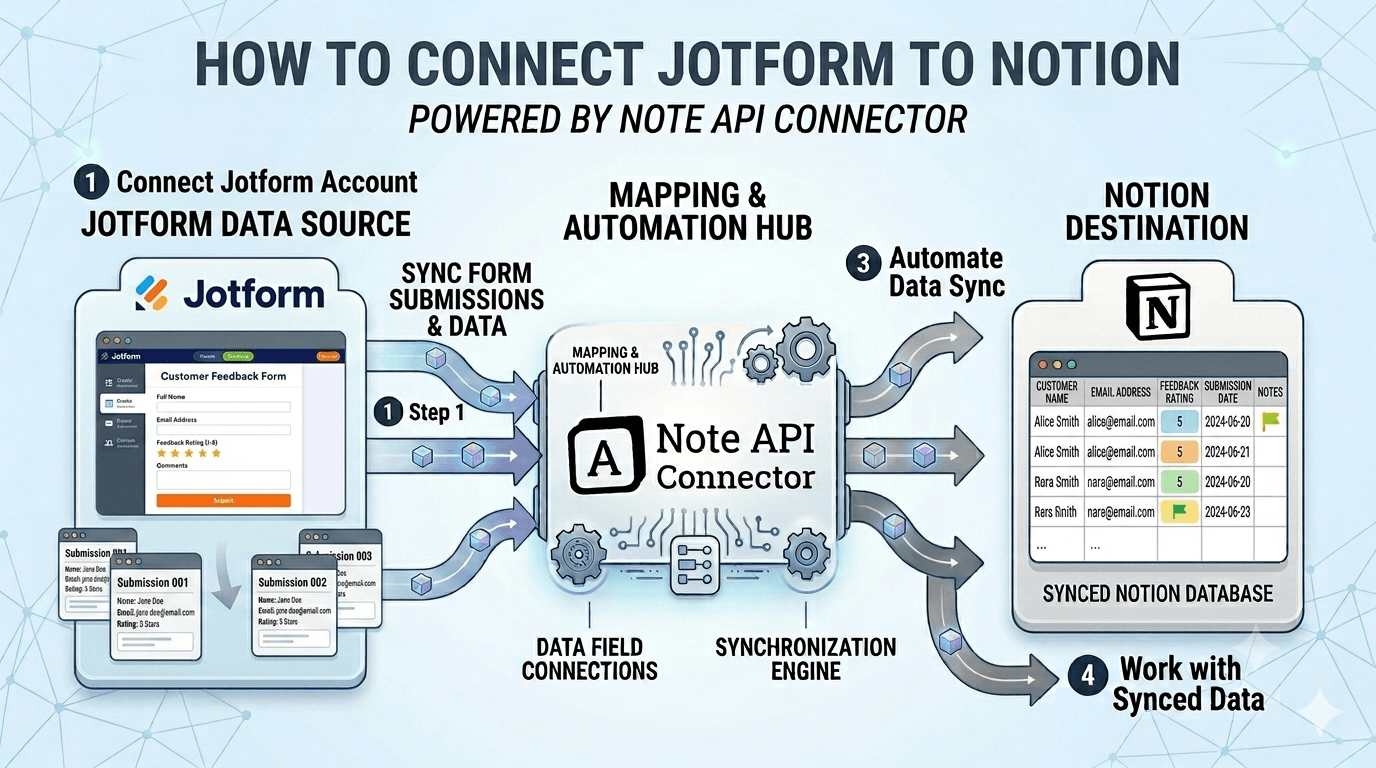
How to connect Jotform to Notion
Connect your Notion workspace
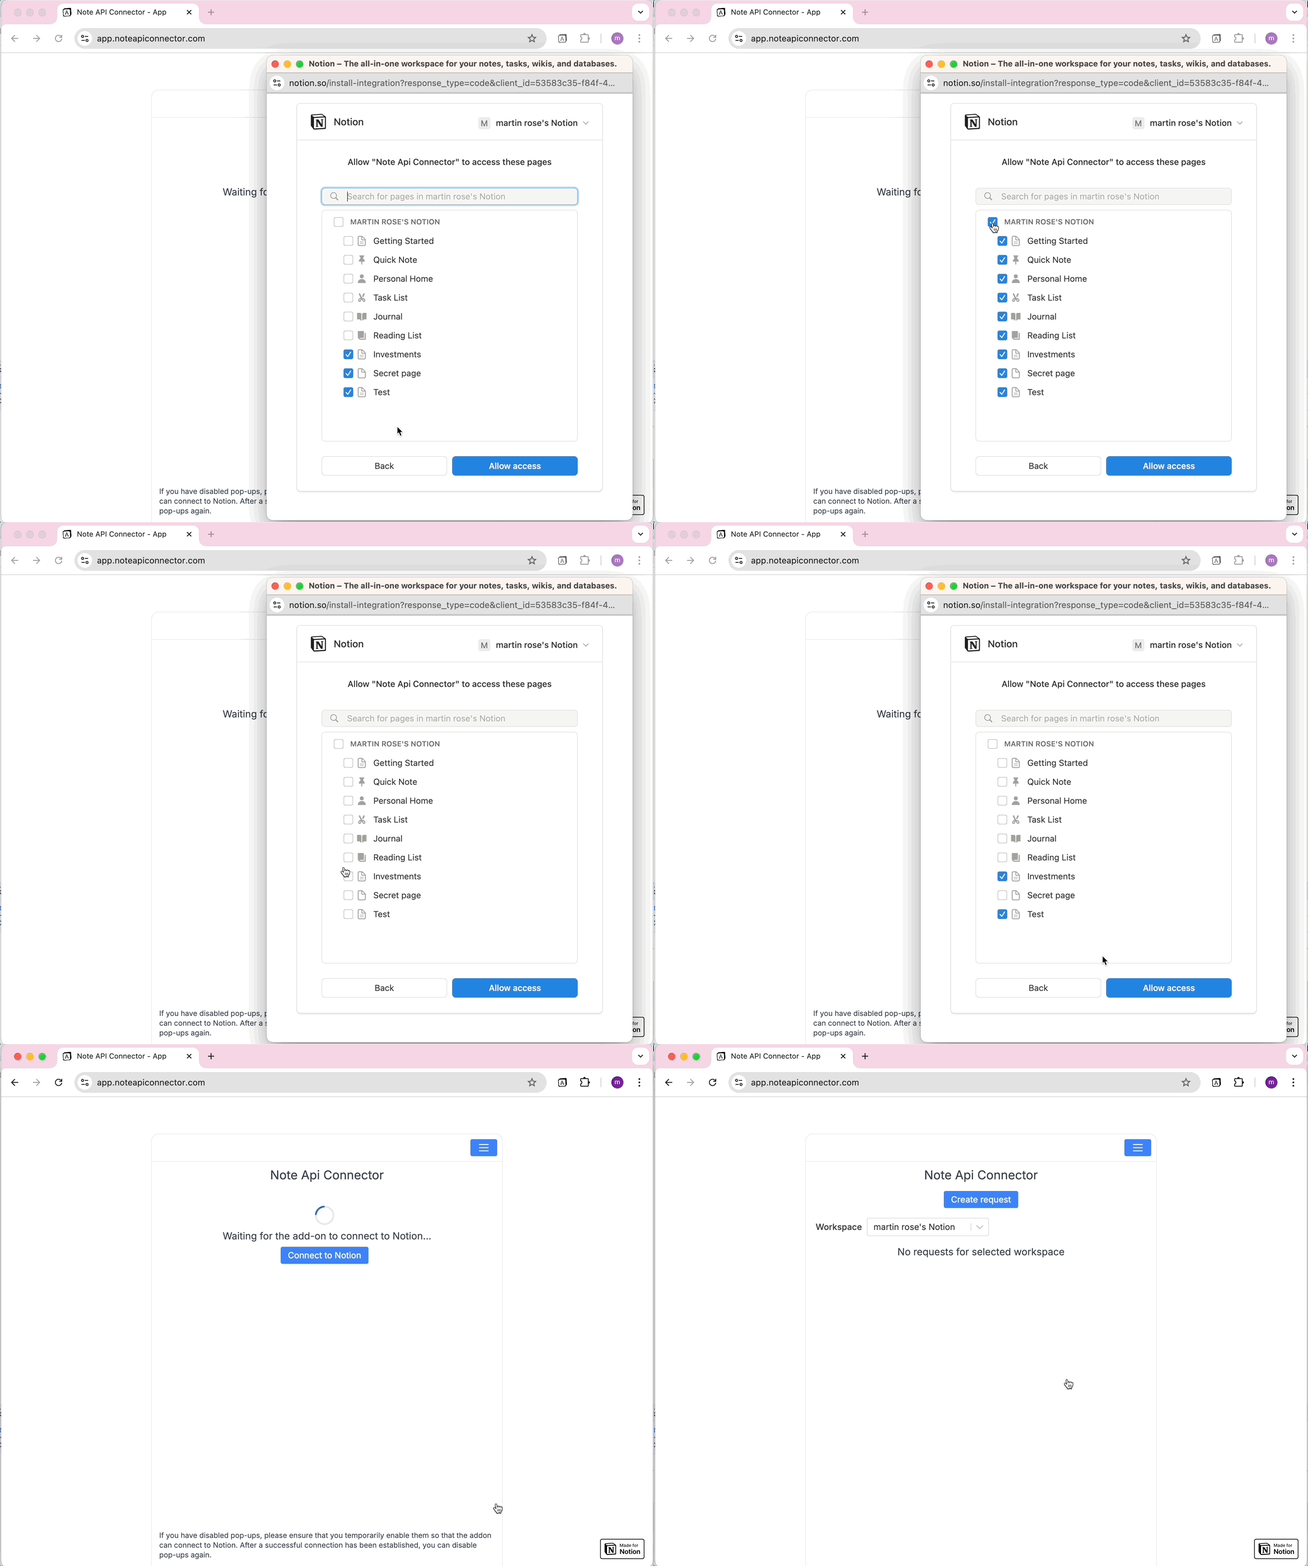
Click Connect to Notion, authorize Note API Connector, and select the pages and workspace where your Jotform data should appear.
Get your Jotform API key and add it as a request header
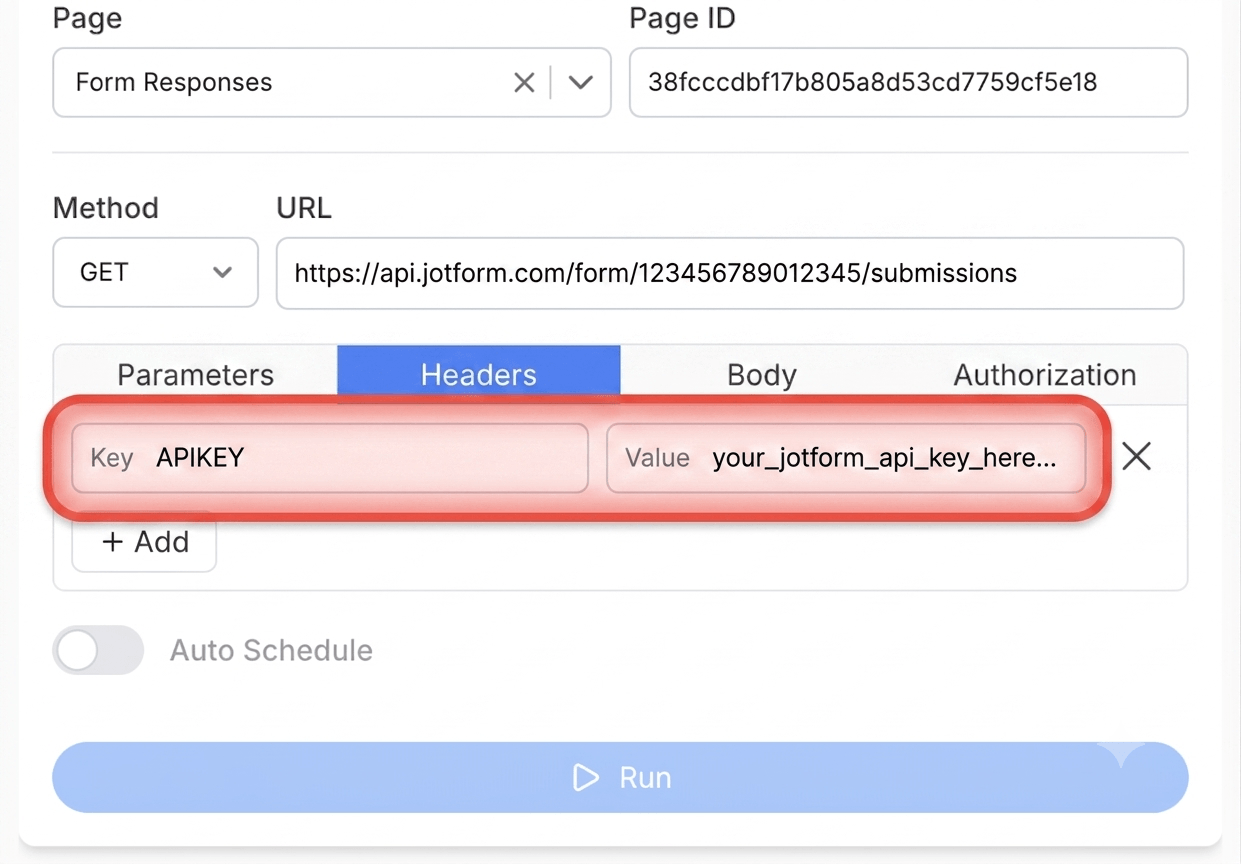
Log in to Jotform, click your avatar in the top-right corner, go to Settings > API (or visit jotform.com/myaccount/api), and click Create API Key. Give it a name and copy the key. In Note API Connector, click Create Request, paste your Jotform API endpoint URL, and open the Headers tab. Add a new header with the name APIKEY and paste your API key as the value. Jotform uses APIKEY (all caps) as the header name - this is different from a standard Bearer Token, so make sure to use the Headers tab rather than the Authorization tab. Give the request a name and click Run. If your Jotform account is based in the EU, replace api.jotform.com with eu-api.jotform.com in all endpoint URLs.
Choose your data and map fields
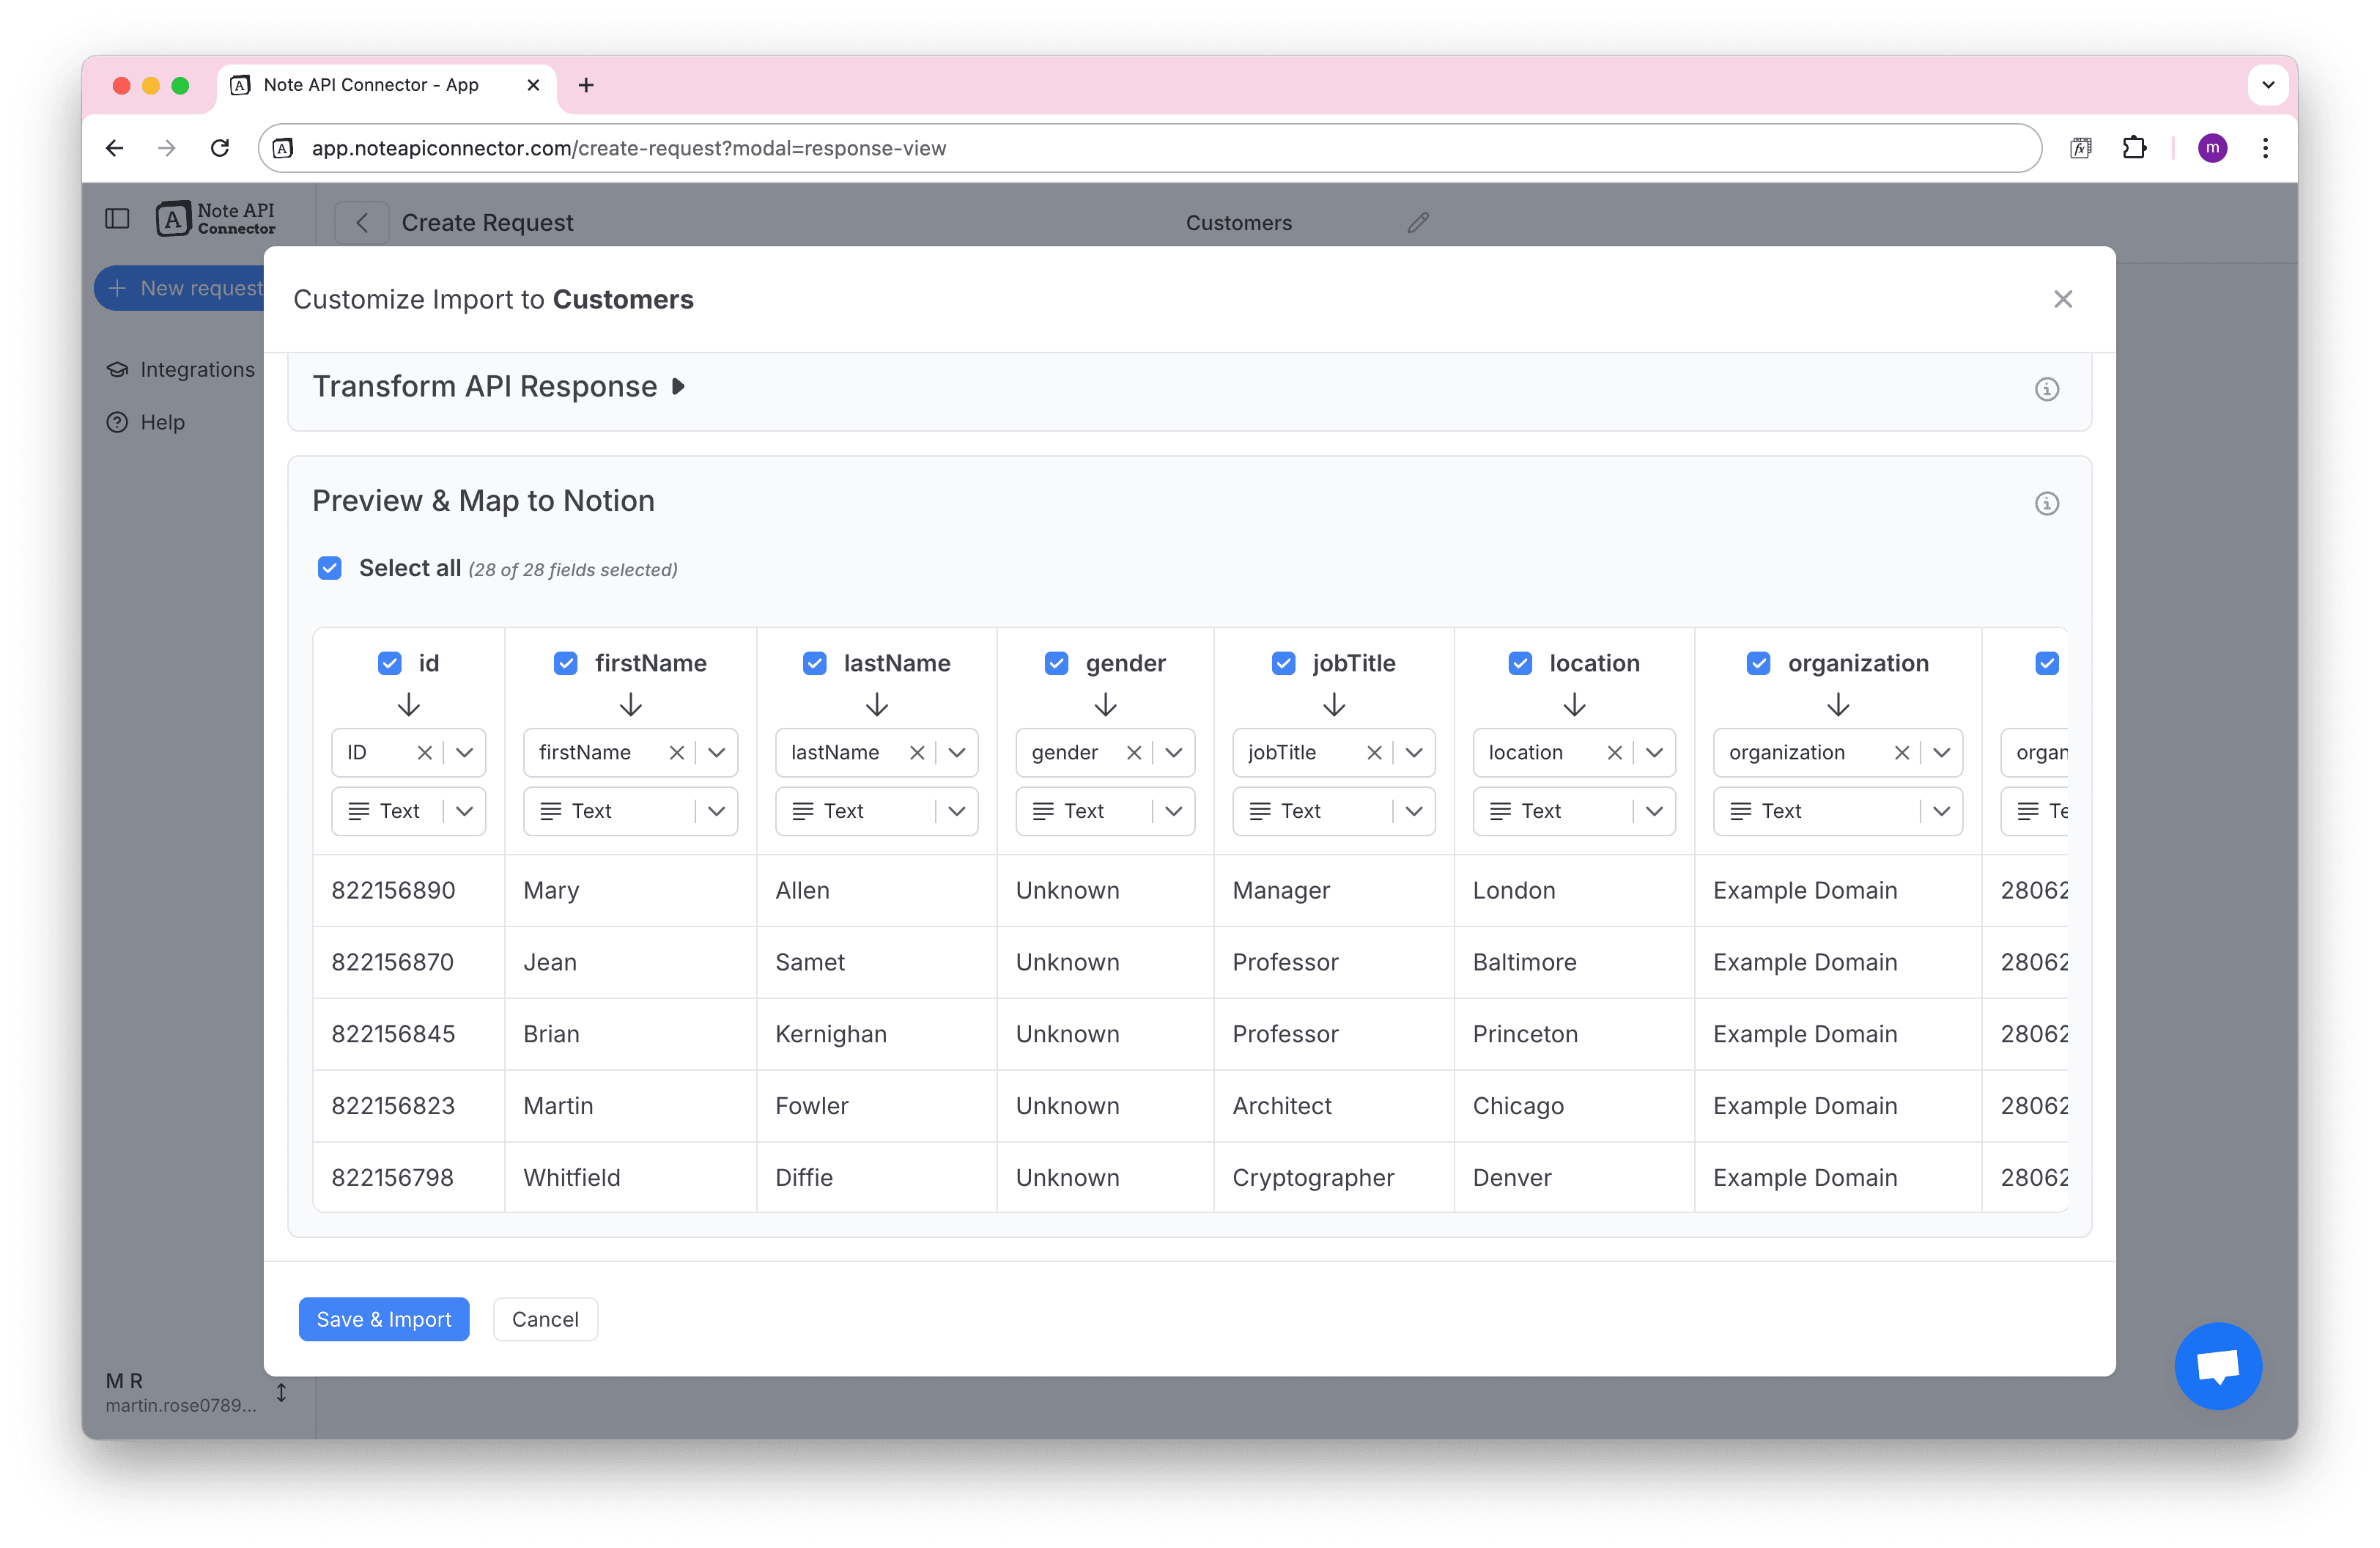
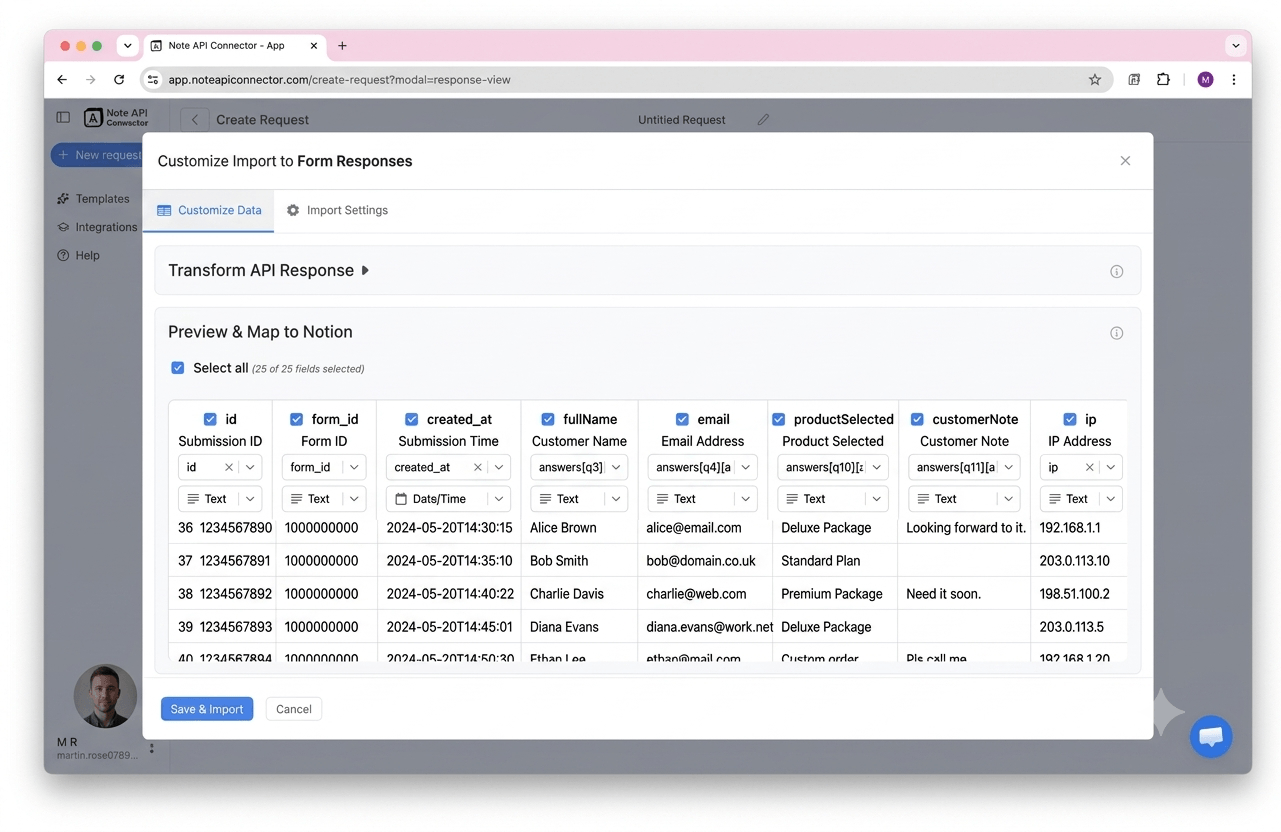
In the Response Field Mapping screen, select which Jotform fields to include - such as submission date, answer values, form name, submitter IP, or status - and map each one to a Notion property. You can match existing properties, create new ones, or set the field type. Click Save & Import when you're done.
Set your sync schedule and go live
Enable Auto Schedule and choose your refresh interval. Your Jotform submission data will sync with Notion automatically from that point forward, with no manual refreshes needed.
⏱ Hourly / Daily / Custom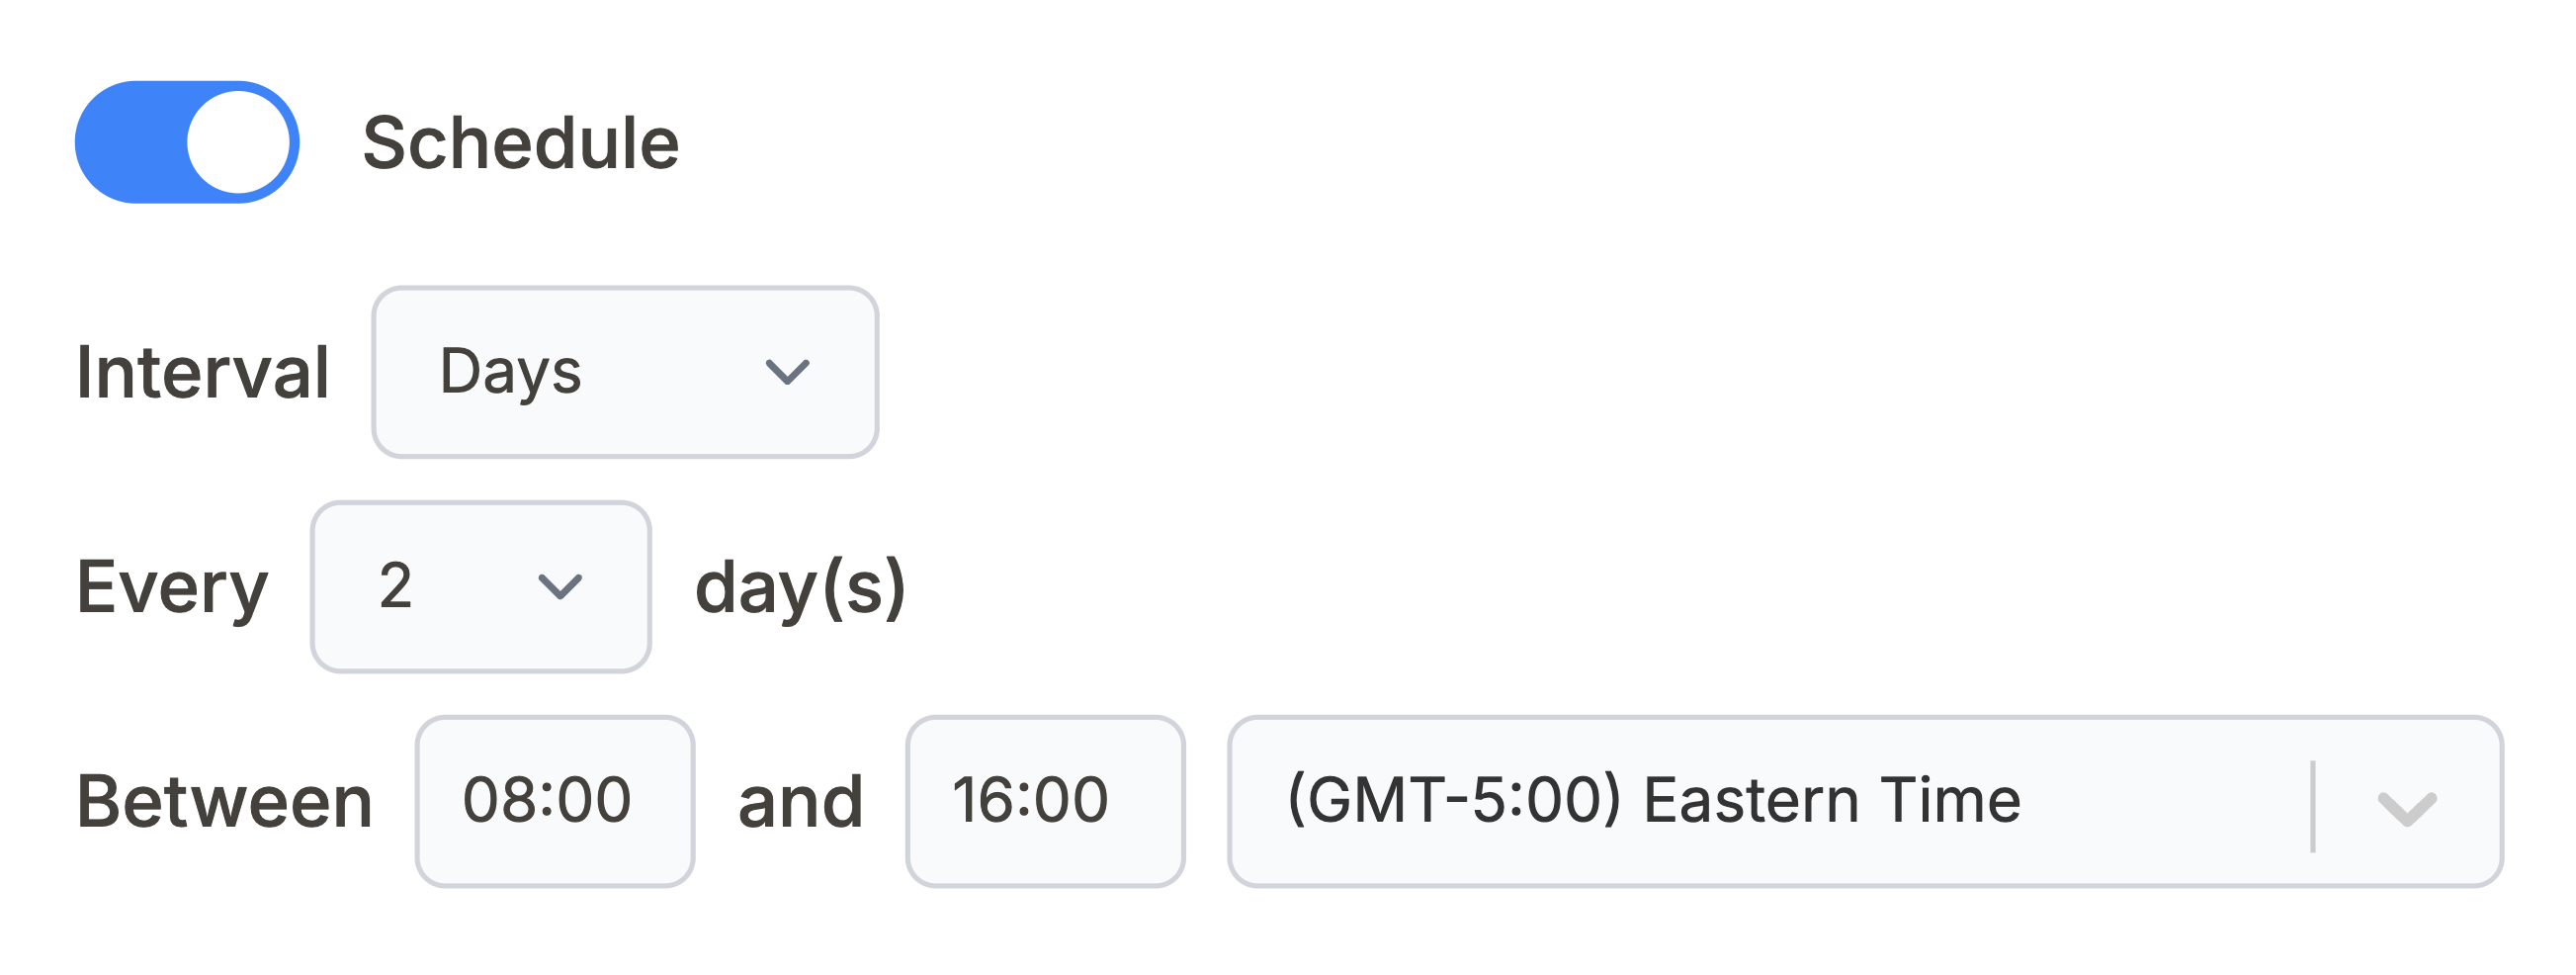
What Jotform data can you sync with Notion?
Use these Jotform API
endpoints directly in Note API Connector. Each one can be mapped to a separate Notion database.
Start with the All Forms endpoint to retrieve your form IDs, then use them to replace
{form_id} in the submission and question endpoint URLs. EU users should replace
api.jotform.com with eu-api.jotform.com in all URLs.
All forms in your Jotform account with title, status, submission count, creation date, and last update. Start here to get your form IDs, which are needed for submission and question endpoints.
https://api.jotform.com/user/forms
All submissions for a specific form with answer values, submission date, submitter IP, and status. This is the main endpoint for syncing form response data into Notion. Replace {form_id} with your Jotform form ID.
https://api.jotform.com/form/{form_id}/submissions
All submissions across every form in your account, with form ID, answer values, and timestamps. Useful when you want a single Notion database that consolidates responses from multiple forms.
https://api.jotform.com/user/submissions
All questions and field definitions in a form with field type, label, required status, and order. Use this to understand the structure of a form before mapping its submission fields to Notion properties. Replace {form_id} with your form ID.
https://api.jotform.com/form/{form_id}/questions
Full metadata for a specific form including title, status, URL, submission limit, and created/updated timestamps. Useful for building a form registry in Notion. Replace {form_id} with your form ID.
https://api.jotform.com/form/{form_id}
Your Jotform account profile with username, email, account type, and plan details. Useful for verifying the connected account and confirming API access level before importing submission data.
https://api.jotform.com/user
See how it works
Why sync Jotform with Notion?
Always up to date
Scheduled sync runs automatically. Your Notion database reflects the latest Jotform submissions without any manual exports.
No coding required
Point, click, and map fields. Connect Jotform to Notion in minutes without any programming knowledge.
Custom schedule
Choose hourly, daily, or custom intervals. You control exactly when Notion pulls fresh submissions from Jotform.
Conclusion
With Note API Connector, setting up a complete Jotform Notion integration takes minutes, not days. Every new form submission syncs automatically into Notion on your chosen schedule, with no code and no manual export.
Whether you are building a lead tracking database from contact form responses, logging event registrations, syncing order requests into a Notion table, or giving your team a live view of survey results, connecting Jotform to Notion turns every form into a structured, searchable Notion database that stays current automatically.
Frequently Asked Questions
Yes. Jotform provides a REST API that exposes forms, submissions, questions, and account data. Note API Connector connects to this API using your personal API key to pull Jotform data into Notion on a scheduled basis.
Go to jotform.com/myaccount/api, create an API key, and copy it. In Note API Connector, connect your Notion workspace, click Create Request, paste a Jotform API endpoint URL, and open the Headers tab. Add a header named APIKEY (all caps) with your API key as the value. Map the response fields to Notion properties and enable Auto Schedule to keep submissions syncing automatically.
Yes. Enable Auto Schedule in Note API Connector and choose your refresh interval: hourly, daily, or custom. New Jotform submissions will sync into Notion automatically on that schedule with no manual action required.
Jotform uses a non-standard header name (APIKEY, all caps) rather than the Authorization header used by most Bearer Token APIs. In Note API Connector, add this via the Headers tab rather than the Authorization tab. The value is just your API key with no prefix - no "Bearer" keyword needed.
Call the All Forms endpoint (https://api.jotform.com/user/forms) in Note API Connector first. Each form in the response includes its numeric ID. You can also find the form ID in the URL when editing a form in Jotform - it is the number shown in the browser address bar.
Yes. If your Jotform account is registered under GDPR/EU data rules, replace api.jotform.com with eu-api.jotform.com in all endpoint URLs. For example, use https://eu-api.jotform.com/user/forms instead of https://api.jotform.com/user/forms. Everything else in the setup remains the same.
You can sync form submissions (including all answer values), the list of your forms, form questions and field definitions, and your account profile. Each Jotform endpoint can be mapped to a separate Notion database.
No. Note API Connector is a no-code tool. You paste your Jotform API endpoint URL, add the APIKEY header, select your Notion database, and map fields visually. No programming knowledge is needed.