How to Import Clockify Data and Sync with Notion
Looking for the easiest way to import Clockify data to Notion? A seamless Notion Clockify integration helps you track billable hours, manage projects, and consolidate timesheets all in one place. In this guide, we’ll show you how to connect Clockify with Notion using Note API Connector, so you can sync Clockify with Notion automatically, without writing a single line of code.
With Note API Connector, you can seamlessly connect Clockify's API to your Notion workspace, no coding required. In this tutorial, we'll guide you step-by-step through setting up the integration, from generating your Clockify API token to mapping your time entries into a Notion database.
TL;DR
- Generate Clockify API Token from your Clockify account preferences.
- Find your Workspace ID in Clockify's workspace settings URL.
- Set up Detailed Reports to import comprehensive time tracking data with individual entries.
- Set up Summary Reports to import aggregated data grouped by projects or users.
- Import Individual Time Entries using user-specific endpoints (optional).
- Handle Pagination to import all records beyond API limits.
- Set up automated imports to keep your Clockify data synced in Notion.
Quick start with Note API Connector
Start syncing your data to Notion in just a few clicks. Connect your Notion workspace, grant the necessary permissions, and you’re ready to create powerful API-based automations.
👉 Follow the official setup guide to get started in minutes.
Generate Your Clockify API Token
Before you can import Clockify data into Notion, you’ll need a secure access token . This token acts as your key to fetch data from Clockify via the API.
First, log in to Clockify and go to the Preferences under your account.

Click Advanced , then click Generate .

Copy the token and store it securely. This token allows you to access your Clockify data via the API.

Find Your Workspace ID
Before you can access Clockify's reporting APIs, you need to identify your Workspace ID. This unique identifier is required for all API requests and tells Clockify which workspace's data you want to retrieve.
The easiest way to find your workspace ID is through the Clockify web interface. Simply navigate to your Workspace settings and look at the browser URL, your workspace ID will be visible in the address bar.

Copy this workspace ID as you'll need it for the API requests in the following sections.
Import Detailed Reports
Clockify's Detailed Report API provides comprehensive time tracking data, including individual time entries with full details like project information, task descriptions, timestamps, and user data. This is perfect for creating detailed timesheets or analyzing work patterns.
Setting Up the Detailed Report API
In Note API Connector, create a new request and configure it to fetch detailed reports from Clockify:

Follow these steps:
- Select POST method - Detailed reports require POST requests
- Enter the API URL: Use the detailed reports endpoint
https://reports.api.clockify.me/v1/workspaces/{{YOUR_WORKSPACE_ID}}/reports/detailed
Replace {{YOUR_WORKSPACE_ID}} with your actual workspace ID from the previous step.
-
Add Headers:
x-api-key: Your Clockify API tokenContent-Type:application/json
Configure Request Parameters
Switch to the Body tab and select JSON format. Add the request parameters to specify what data you want to retrieve:

Here's what each parameter does:
- dateRangeStart: The start date for your report (ISO 8601 format)
- dateRangeEnd: The end date for your report (ISO 8601 format)
- exportType: Set to "JSON" to receive structured data
-
detailedFilter:
- page: Page number for pagination (start with 1)
- pageSize: Number of entries per page (max 1000)
- rounding: Set to false for precise time calculations
Click Run to fetch your detailed report data.
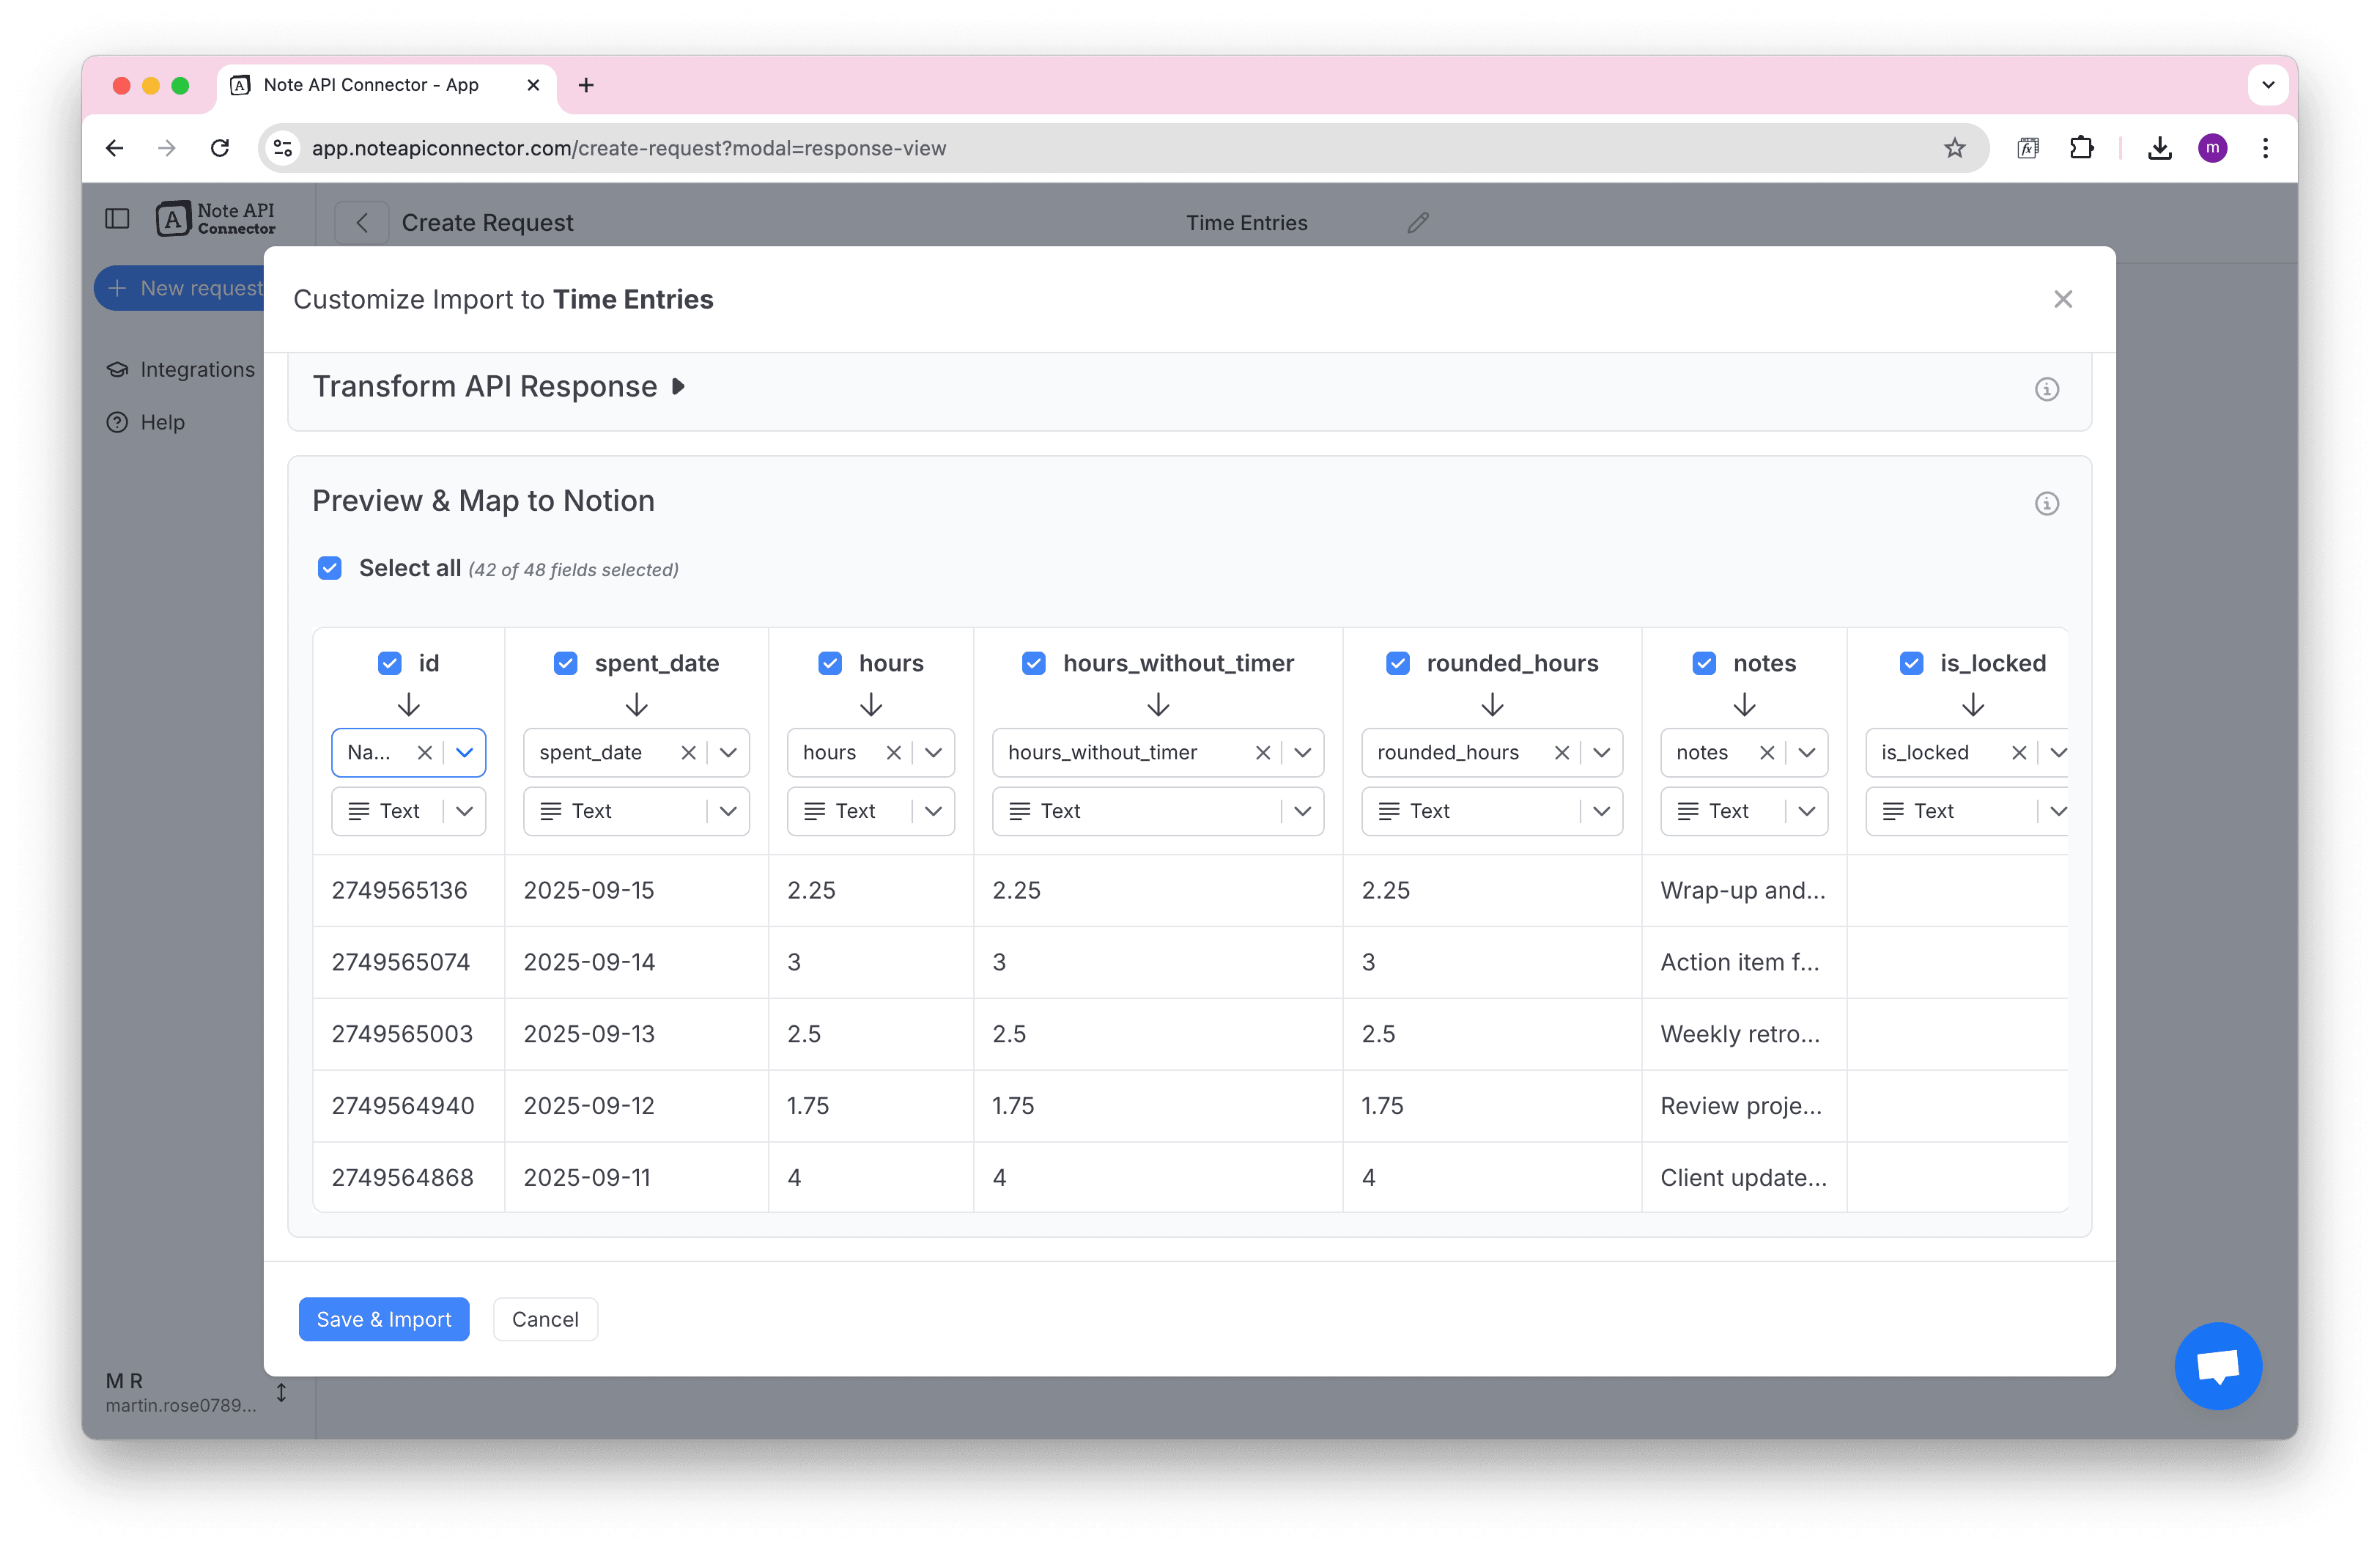
Review and Import Detailed Report Data
After running the request, you'll see the detailed report data in the response view.

The response contains two main sections:
- totals: Summary information about the total duration and billable amounts
- timeentries: Individual time entries with complete details for each logged session
Select Nested Data
To access the individual time entries, you'll need to select the nested timeentries data. In
the Response Field Mapping screen, click Transform API Response to open the raw data
viewer.

Click the 🎯 target icon next to the timeentries field to automatically select this nested
data. Note API Connector will generate the correct JMESPath expression for you, allowing you to import
individual time entries rather than summary data.
Learn more about working with nested API data in the Select Nested Data documentation.
Map the fields you need to your Notion database and click Save & Import to bring the detailed time tracking data into your workspace.
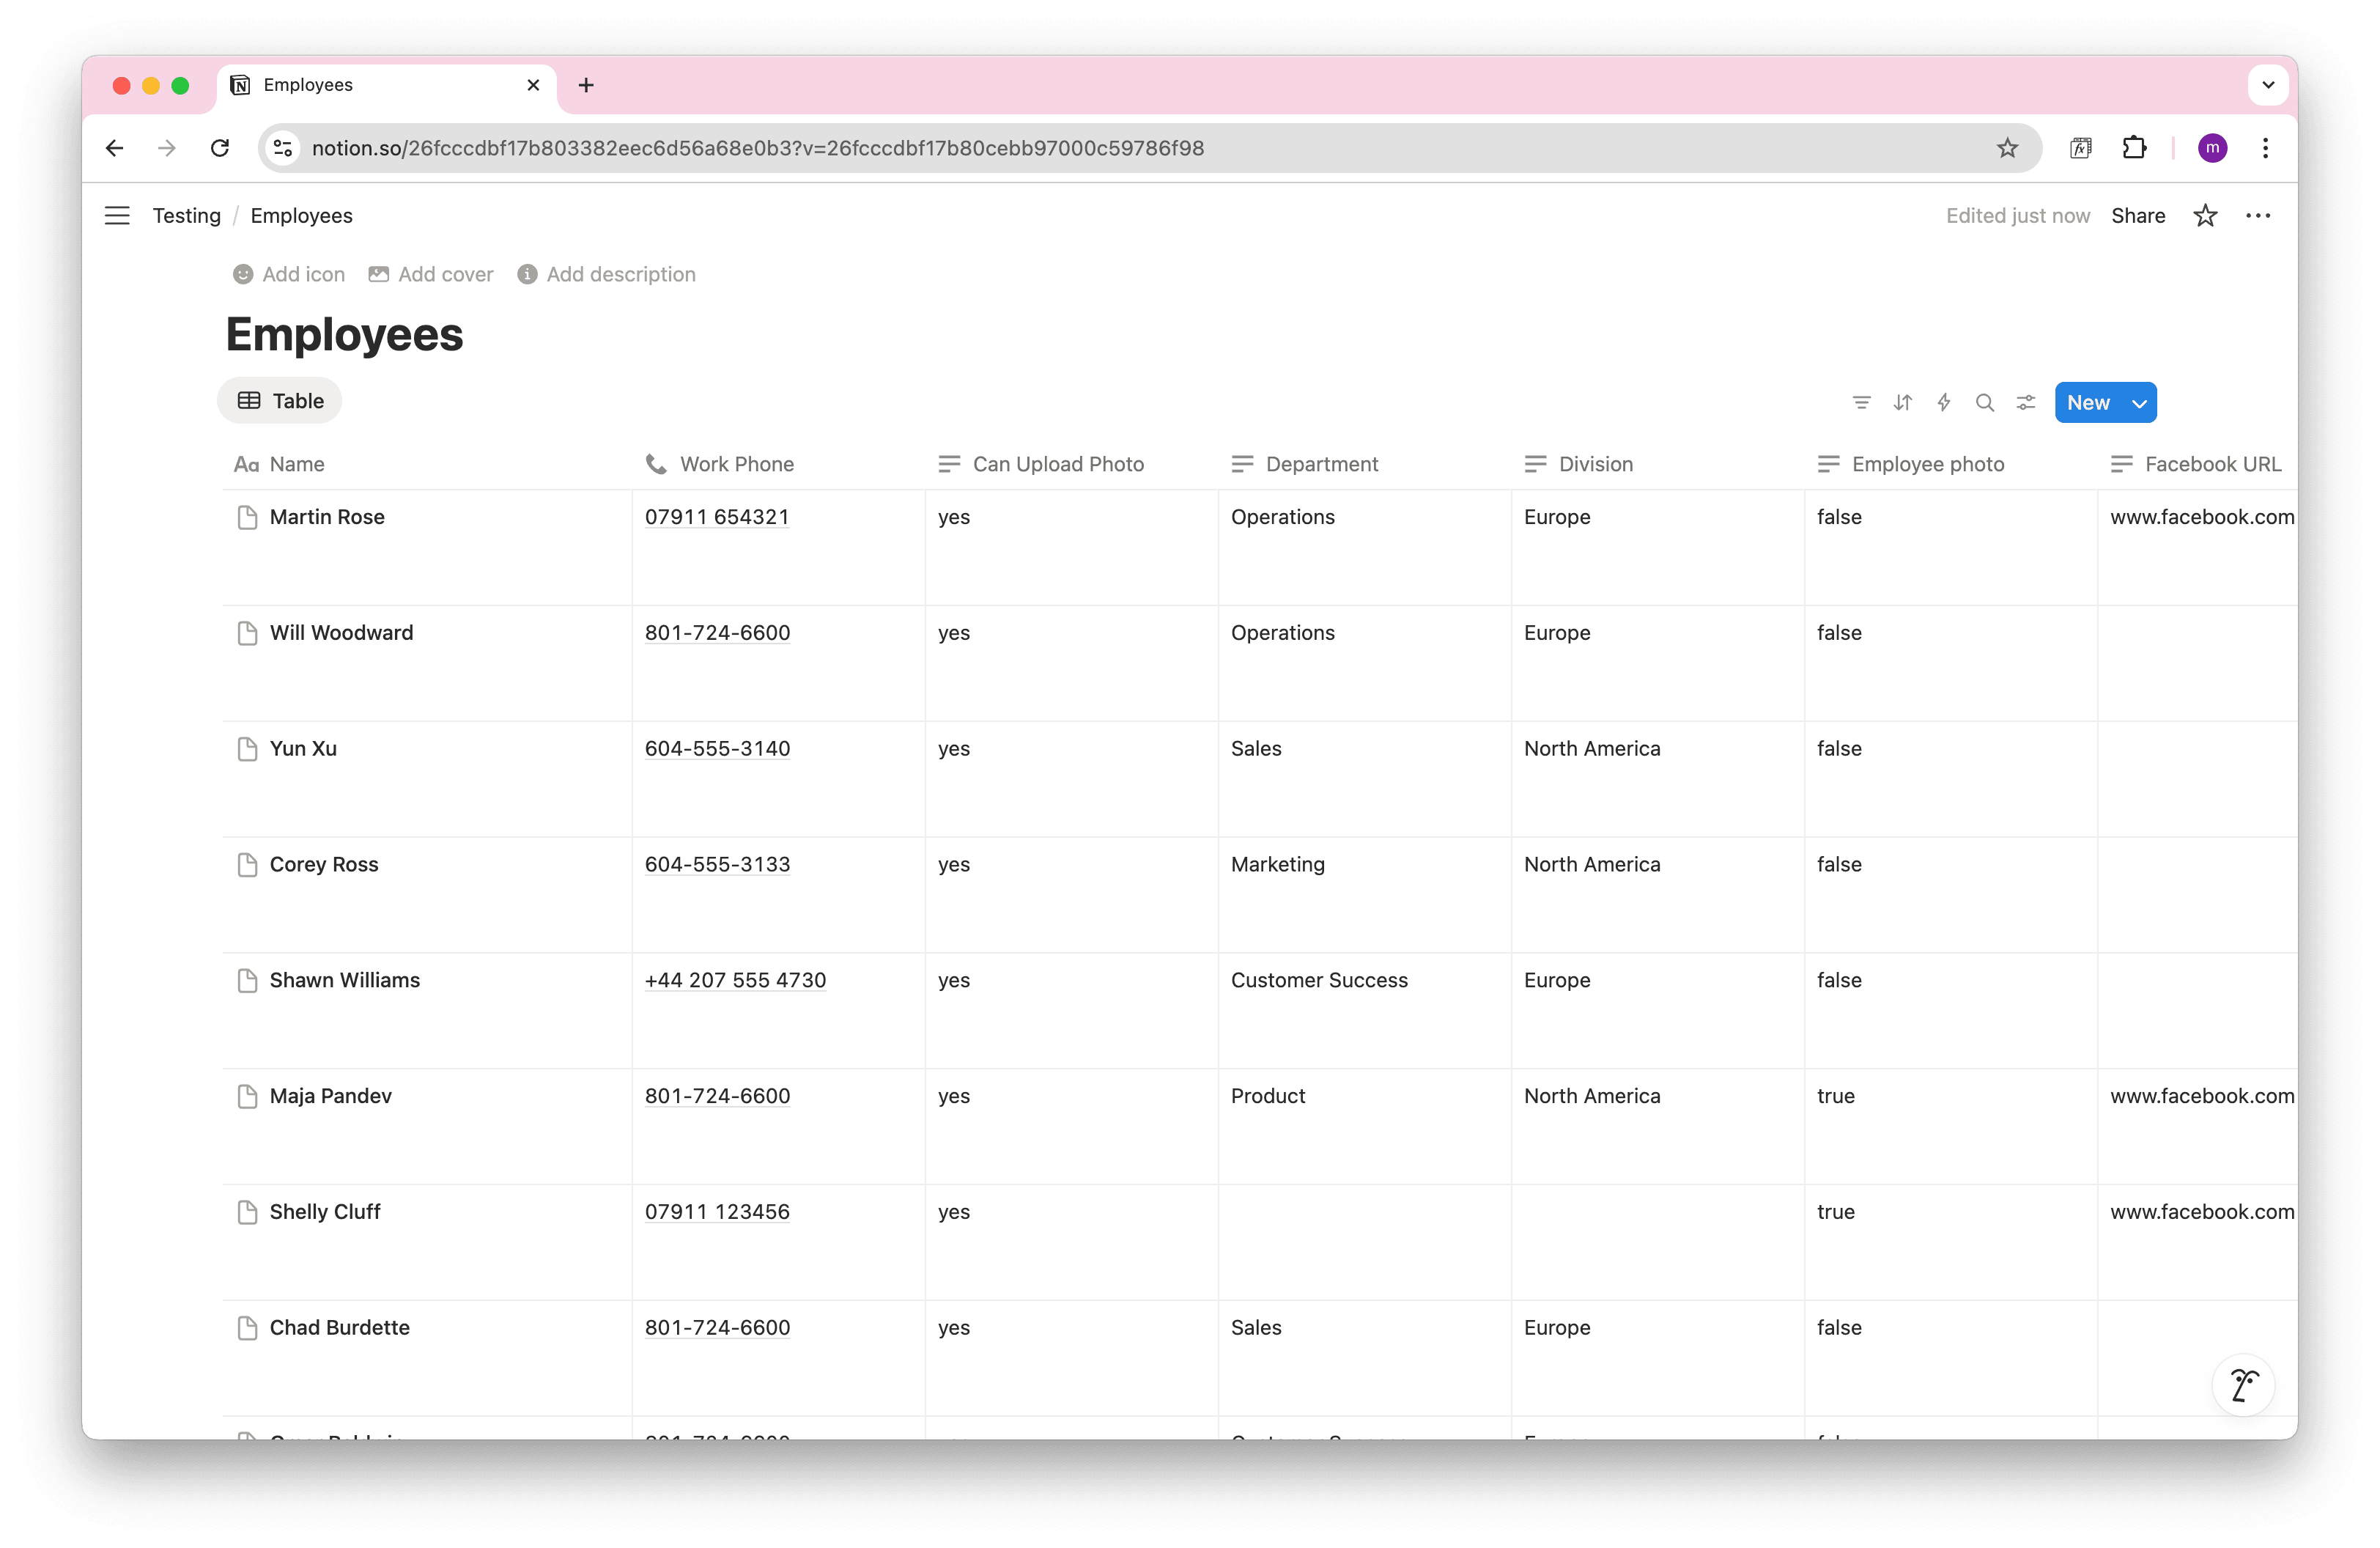
Final Result in Notion
Once imported, your detailed report data will appear in your Notion database as individual time entries, each with complete details about the task, project, user, and time information.

Each row represents a single time entry with fields like task name, project, user ID, duration, and approval status. This detailed view is perfect for time tracking analysis, project management, and creating detailed reports.
Import Summary Reports
Summary Reports provide aggregated time tracking data grouped by projects, users, or other criteria. This is ideal for creating high-level dashboards, project summaries, or team performance reports.
Setting Up the Summary Report API
Create another request in Note API Connector for summary reports:

Configure the request with:
- POST method - Summary reports also require POST requests
- API URL: Use the summary reports endpoint
https://reports.api.clockify.me/v1/workspaces/{{YOUR_WORKSPACE_ID}}/reports/summary
Replace {{YOUR_WORKSPACE_ID}} with your actual workspace ID.
- Headers: Same as detailed reports (x-api-key and Content-Type)
Configure Summary Report Parameters
In the Body tab, add the JSON parameters for your summary report:

Key parameters for summary reports:
- dateRangeStart/dateRangeEnd: Same date range format as detailed reports
- exportType: Set to "JSON"
-
summaryFilter:
- groups: Primary grouping (e.g., "PROJECT", "USER", "CLIENT")
- subgroups: Secondary grouping for more detailed breakdowns
- rounding: Set to false for precise calculations
Review and Import Summary Report Data
Summary reports return aggregated data that's perfect for dashboards and high-level analysis:

The summary report contains:
- totals: Overall summary of time and amounts for the entire date range
- groupOne: Data grouped by your primary criteria (projects, users, etc.)
Select Nested Data
To access the grouped project or user data, you'll need to select the nested groupOne data.
Click Transform API Response to open the raw data viewer.

Click the 🎯 target icon next to the groupOne field to automatically select this nested data.
This allows you to import the grouped project or user summaries rather than the overall totals.
Learn more about working with nested API data in the Select Nested Data documentation.
This aggregated data is perfect for creating project overviews, team performance summaries, or client billing reports in your Notion workspace.
Final Result in Notion
Once imported, your summary report data will appear in your Notion database as grouped entries, with each row representing a project, user, or client summary depending on your grouping criteria.

Each row shows aggregated data like total duration, currency, and amounts for each project or group. This high-level view is ideal for project management dashboards, client billing summaries, and performance analysis.
Import Individual Time Entries
If you need access to individual time entries with user-specific data, you can use Clockify's getTimeEntries API endpoint. This method requires both workspace and user IDs and provides individual time entries for a specific user.
https://api.clockify.me/api/v1/workspaces/{{YOUR_WORKSPACE_ID}}/user/{{YOUR_USER_ID}}/time-entries
Before making API requests, you can explore Clockify's complete API documentation at Clockify API to understand all available endpoints and data options.
Get Your User ID
To access user-specific time entries, you first need to get your
userId
by making a request to:
https://api.clockify.me/api/v1/user
Add a header to your request
x-api-key
with your token.

Then, you can find the
userId
in the response view.

Import Time Entries
With both your workspace ID and user ID, you can now access individual time entries. Select the Notion database where you want to import the data and paste the API URL into the URL field.

Review the Clockify data in the Response Field Mapping view.

Click Save & Import to store the data in your Notion database.

Handle Pagination
Clockify limits the number of records returned in each request to ensure optimal API performance. By default, the API may return only a subset of your total data. To import all your time tracking records, you'll need to use pagination.
The pagination method depends on which Clockify endpoint you're using. Note API Connector supports both pagination types that Clockify uses:
Pagination for Reports (Detailed, Summary, Weekly)
When working with Clockify's report endpoints (/reports/detailed, /reports/summary,
or /reports/weekly), you need to use
Page Parameter Body
pagination because these endpoints require POST requests with pagination parameters in the request body.
To enable pagination for report endpoints:
- In the Response View, open the Import Settings tab and enable Pagination.
- Select Page Parameter Body as the pagination method.
-
In the Page body parameter name field, enter:
detailedFilter.page - Choose whether to Fetch all pages or stop after a specific number of pages.

With this configuration, Note API Connector will automatically increment the page number in your request body (starting from page 1), allowing you to import all time entries beyond the initial page size limit.
Learn more about Page Parameter Body Pagination in the documentation.
Pagination for Other Endpoints (Time Entries, Projects, Users)
For other Clockify endpoints like /workspaces/{workspaceId}/time-entries,
/workspaces/{workspaceId}/projects, or /workspaces/{workspaceId}/users, use
Page Parameter
pagination. These endpoints accept the page number as a URL query parameter.
To enable pagination for these endpoints:
- In the Response View, open the Import Settings tab and enable Pagination.
- Select Page Parameter as the pagination method.
-
In the Page parameter name field, enter:
page - Choose whether to Fetch all pages or stop after a specific number of pages.

Note API Connector will automatically add ?page=1, ?page=2, etc., to your request
URL until all available data is imported.
Learn more about Page Parameter Pagination in the documentation.
Automate Data Updates in Notion
Manually refreshing your Clockify data in Notion can be tedious, especially when you’re tracking hours, reviewing timesheets, or managing client billing. With Note API Connector’s scheduling feature, you can automate data updates and keep your Notion workspace in sync with the latest Clockify information.
Choose to refresh hourly, daily, or at custom intervals to ensure your time-tracking dashboards are always up-to-date. Whether you're a freelancer tracking billable hours or a team lead managing workloads, automated updates make your Clockify Notion integration seamless and maintenance-free.

Conclusion
With Note API Connector, you can import Clockify data into Notion in just a few minutes, without writing any code. This Clockify Notion integration gives you the flexibility to track time entries, review activity logs, and generate custom reports directly inside Notion.
Whether you're analyzing team performance or automating client billing, syncing Clockify with Notion removes the hassle of spreadsheets and manual entry. Customize your views, set up automatic updates, and make your time-tracking workflow smarter, right inside Notion.
Frequently Asked Questions
Use Note API Connector. First, generate your Clockify API token, then create an API request inside Note API Connector, and finally map the response fields into your Notion database.
No, Note API Connector is a no-code tool that lets you connect Clockify to Notion without writing any code. The intuitive interface makes configuration and syncing fast and easy.
Yes. With automatic scheduling feature, you can automate your Notion Clockify integration by setting up hourly, daily, or custom interval updates. This ensures your Notion workspace always reflects the latest Clockify records without manual imports.
You can sync various types of Clockify data into Notion, including:
- Detailed Reports – individual time entries, project information, task descriptions, timestamps, and user data.
- Summary Reports – aggregated time data grouped by projects, users, or clients.
- Time entries – start time, end time, duration, description, and project tags.
- Projects – project names, client info, and status.
- Tasks – task names, project associations, and completion status.
- Users – team member details like name, email, and roles.
- Clients – client names and associated projects.
With Note API Connector, you can customize exactly which fields to map into your Notion database, making your Clockify Notion integration as simple or detailed as you need.